Showing posts with label Bread. Show all posts

Thursday, 3 September 2015

Cracked Rye and Oat Bread

Fresh out of the oven

Germans bake good bread heh? I've lost count about how often I heard the sentences: "You must love bread!", "German bread is the best!" or "Do you miss your bread?" during my time in London... If I would've got a pound every time someone said it to me....  
I'm seriously amazed by the reputation of my nation's bread! Okay, we always want what we can't have and appreciate rare specialities much more then our daily bread - pun intended! 

Rye Bread Crust

I've never appreciated a proper dark rye or whole spelt/wheat bread with nuts/seeds etc. more than during my time on the island were it was hard to come by even during the current hype of sourdough bakeries. So what makes our bread so special? Let's start with the variety: over 300 different types of bread plus 1.200 rolls, buns and other small bakes can be found in bakeries across the country. We are all huge fans of sourdough breads and there's hardly a home that doesn't enjoy some kind of bakery bread at home. We don't buy our bread in the supermarkets we still go to the bakery.  My mom comes from Westphalia - the german region were the well known "Pumpernickel" bread has it's heritage.

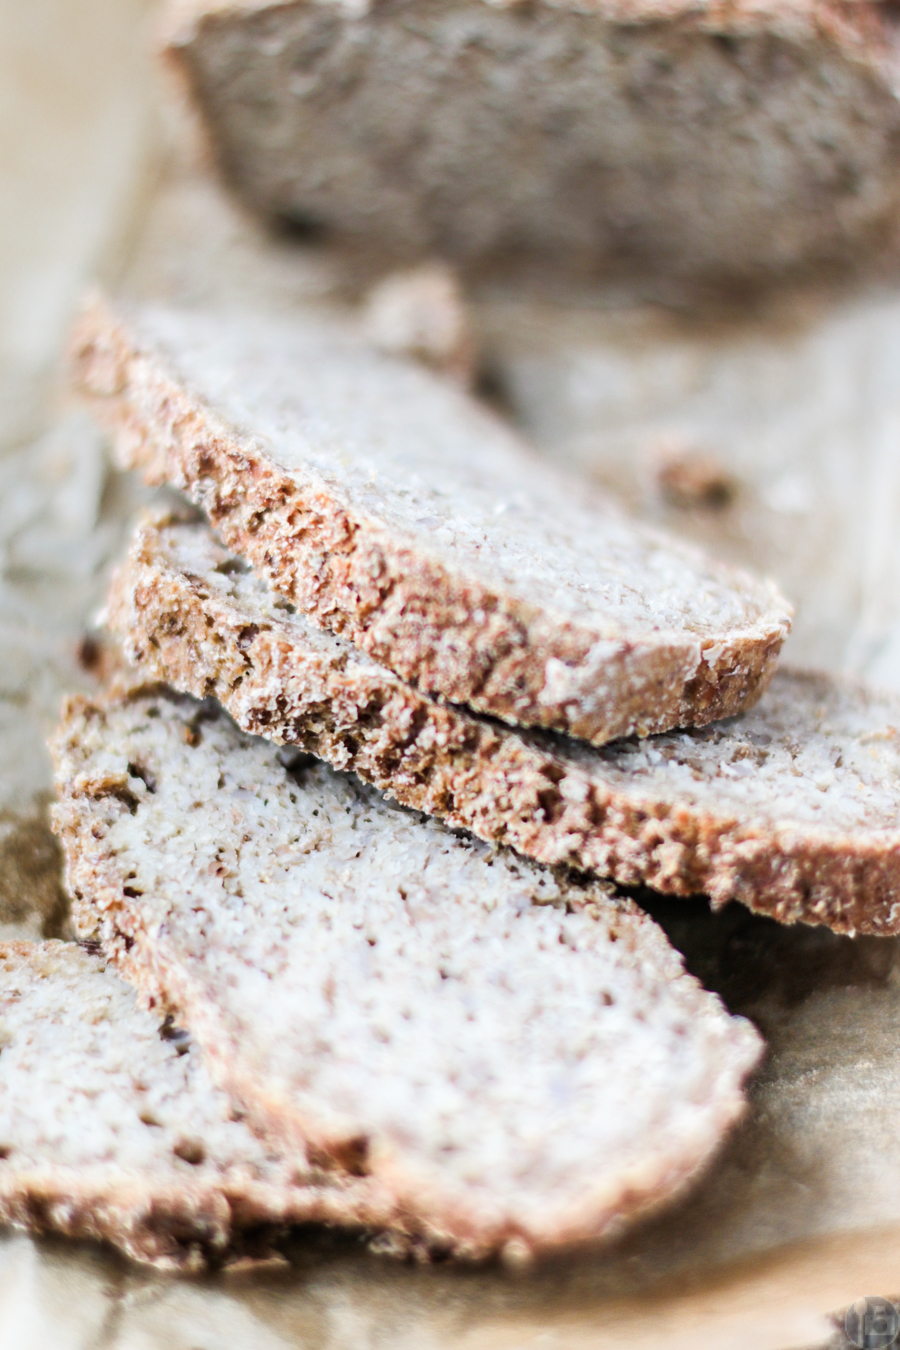
Bread Slices Rye and Oat Bread Slices

I was raised with a proper "Abendbrot" - see even the german word for dinner ("Abendbrot"="evening-bread") involves one of our favourite diet staples ;-). Apart from at least one variety of bread this means a variety of cold cut meats, ham, salami, cheese, pickled and fresh vegetables and butter. Every day. And we don't grow sick of it - if you are lucky your baker is creative and changes his products during the season: a lightly seeded wheat bread in spring, deep, dark malted rye bread in winter or a spelt bread with nuts and dried fruit in autumn. 
When I was younger my favourite was a "Mischbrot": Not just wheat and not just rye but the best of both worlds: flavourful rye with wheat to lighten it up. Still dense and very moist but not as hard to chew as a Pumpernickel stuffed with seeds or nuts. A thin layer of butter and a slice of cheese or a bit of cold cut meat. Yum!
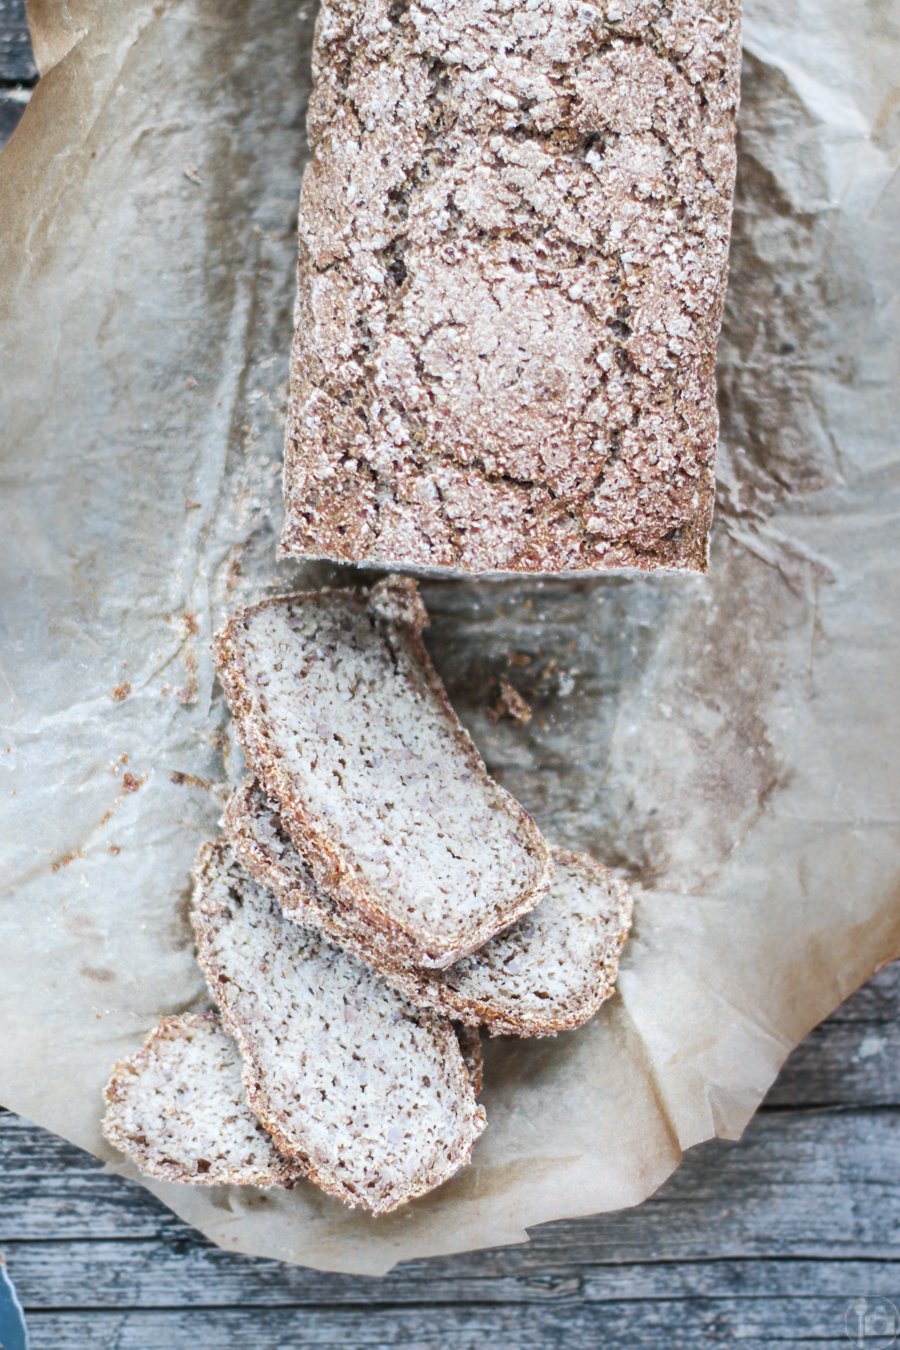
Cut Rye and Oat Bread

Nowadays I often turn to a lighter dinner of salad or vegetables but a slice of good ol' bread is always welcome to sneak in if there's fresh one around. Or I keep it as a special treat for a relaxed weekend breakfast when there's a full feast of eggs, cheese, butter, honey, jams or nut butter. 
So today I've brought you a bit of german bread feeling for your own kitchen. It's not a sourdough based bread to make things easier. There's a bit of cracked rye inside to make it nice and chewy. Plus it's packed with the goodness of oats and whole rye. It's soak, mix, loooong slow rise, shape, rise, bake, serve. Based on Jim Lahey's famous No-Knead Bread it's very little hands on time for a super delicious, flavourful bread. Enjoy and let me hear your bread stories!

Cracked Rye and Oat Bread Cracked Rye and Oat Bread

Cracked Rye and Oat Bread

Cracked Rye and Oat Bread

Cracked Rye and Oat Bread (No-knead Method)
- makes one loaf, inspired by Jim Lahey's famous No-knead Bread
First step:
- 150g cracked rye
- 200g boiling water
Second step:
- 290 g water, warm to the touch
- 300 g oat flour (or simply process some oats in your food processor), may be substituted by all purpose or whole wheat - just keep in mind that the texture of the bread may become lighter
- 1/2 tsp dried yeast
- 1/2 tsp salt

1. Put the cracked rye into a heat-proof bowl and cover with the boiling water. Let sit for an hour.
2. Mix the remaining warm water and the yeast. Put half of the soaked rye into a large mixing bowl. Pulse the rest of the rye in your food processor or blend with a blender until it has a batter-like texture - some bits are totally fine. Add to the cracked rye along with all other ingredients. Mix well and cover with cling film.
3. Let rise in a warm, draught free place for at least 12 hours, preferably overnight or up to 24 hours for more mature flavours. Flour your working surface - put dough out of the bowl and flatten into a rectangle. Fold each of the four sides into the middle, like a package. Place seam side down on a floured tea towel or in your tin lined with baking parchment. Cover with the cling film again and let it rise for 3 more hours.
4. Now place your dutch oven or another heat proof dish with a lid in your oven and preheat to 250 °C for 30 minutes. If your dough isn't in the tin or on parchment (for a free form loaf) yet, do that now. Then put your loaf in a tin or without in your dutch oven, place the lid back on top and bake for 20 minutes. Remove the lid, lower the oven temperature to 220 °C and continue baking for 30 minutes or until loaf is nice and brown and sounds hollow when tapped. Enjoy!

Rye and Oat Bread slice with butter knife

Sunday, 26 April 2015

Banana Bread


Healthy refined sugar free Banana Bread


Hey lovely people out there - I hope you're all doing mighty fine with some gorgeous spring weather in the northern hemisphere or a golden autumn in the southern hemisphere right now! Wherever you are I hope the weather is just on point for some lovely picnics and outside breakfast/brunch sessions. Let's say I've been out and about for picnic dates at least twice every week recently, double the number and you can get an approximate idea of how much sun spoiled us Londoners in the past weeks - bring it on spring!

Banana Bread illustrated Recipe

Picnics call for easy, convenient fresh recipes, like this Bulgur Salad or some small snacks. And if you decide on an impromptu one, how about bringing along a loaf of freshly baked banana bread? Skip the sugar and highly-processed ingredients of the store bought version and reach into your cupboard instead!

I almost feel ashamed about hiding this banana bread recipe from your eyes for a whole year!! It's easy, quick and requires just a few pantry staple ingredients: some flour of choice (I used whole spelt), salt, yoghurt, milk, baking soda and vinegar. Make it vegan by substituting non-dairy alternatives and throw in some natural sweetener of choice and maybe some nuts, seeds or dried fruit (I used pecans) and you're all ready to go. Stir, pour and bake. And how about filling your basket with some more homemade good stuff and maybe a few favourite toppings for your banana bread before taking it out of the oven, wrapping it up (don't forget a knife to cut the slices!) and heading out of the door?

The bread is full of banana flavour, incredibely soft and airy and without the usual sugar rush. I recommend doubling the amount of sweetener if you have a sweet tooth, for me it worked fine with just one tablespoon honey. I wish you all some glorious spring/autumn days!!

Naturally sweetened Banana Bread Banana Bread
- makes one half pound-ish loaf
- 360g flour of choice (I used whole spelt, but feel free to grab whatever is left in your pantry: oat flour, whole wheat, rye, buckwheat...)
- 1 and 1/2 tsp salt
- 1 and 1/2 tsp baking soda
- 160 ml milk
- 120g yoghurt
- 2 bananas, mashed
- 3 Tbsp vinegar
- 1-3 Tbsp liquid sweetener of choice, I used honey

1. Preheat your oven to 200 °C.
2. Mix dry and wet ingredients seperately - add the wet mixture to the dry one, stir until just combined.
3. Pour batter into a regular sized loaf pan lined with parchment paper or greased with some oil.
4. Bake for 45 minutes up to 1 hour. The bread is done if the bottom sounds hollow when tapped or a skewer inserted comes out clean. Remove and let cool for at least 10 minutes, then remove from the pan and allow for further cooling or serve immediately. Enjoy!


Sunday, 15 March 2015

Beetroot Bread


My spirit seems to resurrect: Christmas Cookies in March? C'mon Sabrina, it's definitely time for a new recipe! The current abundance of sunshine and warmer temperatures in London seems to stick me onto the bike 24/7 and I am literally all day (or at least during my free time) out and about, soaking in every impression and thinking about loads (!) of meals and dishes that I'd like to cook/bake. So far so good - blogging when staying abroad is far more challenging then I'd like to admit.. Neglecting my passion for food photography and writing over the past few months and not keeping you as up to date as possible makes me feel terrible.. I still have a few recipes on my computer, so be sure that I will keep giving you some culinary input during the next months on the island ;-). 


Staying abroad doesn't only involve a new culture, etc. - I also realize the few things that matter most to me in life: family, friends, quality time with good food and a lot of sketching/painting - life is good! While the abundance of nice coffee shops around (if you follow me on instagram you're probably sick of yet another coffee shot, sorry for that, I can't help myself, caffeinating is GOOD) makes it easy to balance out my need for a good home brew in the morning I do miss getting creative in the kitchen, on the stovetop and in the oven... Time is just incredibely precious and priorities have to be made.. For now new culinary experiments out of my own hands have to take a step back until summer - just as the joy of some fresh homemade bread with either olive oil+salt or butter.


When you stroll through UK supermarkets you hardly get a feeling for seasonal vegetables and fruits.. Yes, sometimes you can spot a sign saying "new season" yet berries, rhubarb and all kinds of exotic fruits and vegetables seem to be around all year long. You can hardly get strawberries in Germany during the winter and if you are lucky enough to find some be sure to pay at least half of your monthly salary for a small punnet of pale small fruits that taste like nothing.. While it might be nice to just go out and grab a few berries whenever you want to, I'd much rather run on all sorts of cabbage, root vegetables and apples during the winter instead of using artifical produce.. 

So this beetroot bread is the perfect little loaf to incorporate into your pre-spring baking routine using the little dark red gem that lingers around before all the fresh spring/summer produce comes into season! I am a huge fan of incorporating veggies or fruit into the good ol' loaf of bread and adding pureed cooked beetroot gives the bread a rich purple/red crust. I used fresh cooked beetroot for the loaf in the pictures yet canned ones will work equally as well. Despite the colour the beetroot gives the bread just a slight earthy taste, not overpowering at all so even the non-beetroot-eater will like it. It works perfect plain, with just a little butter or a nice soft or hard (goat) cheese. Enjoy!

Beetroot Bread
- makes one loaf
- 300g Beetroots, cooked or canned (I used 3)
- 500g Whole Wheat or All-purpose flour
- up to 250 ml water
- 1 tsp honey or molasses
- 1 Packet Dry Yeast
- 1 tsp Salt

1. Puree the beetroot until completely creamy. 
2. Mix 100 ml of warm tap water with the honey and yeast. Let sit for 5 minutes, until foamy.
3. Knead the pureed beetroots together with the salt and flour, gradually adding in the yeast mixture and then more water until a smooth dough starts to form. Keep kneading for five to ten minutes, then place in a slightly oiled bowl and cover with a kitchen towel. Let the dough rise for 1.5-2h, until doubled in size.
4. Preheat your oven to 220 °C. Fill a small deep oven-proof dish with about 300-400ml water and place on the bottom of the oven.
5. Remove dough from the bowl, place on a lightly floured working surface and stretch into a small rectangle. Fold into thirds lengthwise and place on the surface seam side down. Let rest for another 15 minutes. Shape into a loaf, place seam side down on a parchment lined baking sheet and slash deeply.
6. Bake for 20 minutes, then remove the water dish from the oven before continuing to bake the bread for a further 15-30 minutes. The loaf is done if it sounds hollow when bottom is tapped. Remove and let cool for at least 30 minutes or completely before slicing. Enjoy!

Thursday, 7 August 2014

Zucchini and Thyme Sourdough Bread

Zucchini and Thyme Sourdough

Aaand it's a wrap bread! Zucchini and Thyme 100% Whole Wheat Sourdough to be exact! :-). I'm currently experimenting with all kind of "infused/enriched" breads to use up some of the massive amounts of vegetables that our garden produces. I normally only share some of the pics on my instagram and this time the recipe got requested - so here it is! It's a lovely wholesome bread with just the right amount of moisture and "sour" taste. The hint of thyme pairs lovely with the cheese of your choice or enjoy it plain or with butter or in the only true way to enjoy fresh bread! Either way just do it - you won't be disappointed! 

Whole Wheat Zucchini and Thyme Sourdough Bread

Zucchini and Thyme Sourdough Bread
- makes one loaf
- Levain (day one):
- 150g whole wheat flour
- 250g sourdough starter (I used my homemade whole wheat one which is at 100% hydration)
- 70g water

1. Combine all the ingredients for the levain in a bowl into a loose mass - cover and let rest for at least 8 hours to overnight.

- Dough (day two):
- 700g whole wheat flour
- 200g water
- a handful of thyme, chopped
- one zucchini, grated (~300g)
- 1 Tbsp salt

1. The levain should be bubbly by now. If not, then let it rest for a further 1-2 hours (only needed if you choose the eight hour path, if it was rested overnight it should be ready by now).
2. Now take all the levain and knead together with the whole wheat flour and water, let the mixture autolyse for 2 hours.
3. Then add in the zucchini, thympe and salt - the dough will be sticky but handeable, if not add in a little more flour (up to 150g).
4. Now it's time for the bulk rise: for four hours you will fold the dough every 30 minutes: take the dough and think of four "corners" (even if your dough is possibly circular ;-)). Now take one corner, stretch it and fold it over the package, do so with all the remaining three corners, then place the dough seam-side down into the bowl. Be careful not to deflate the dough to much while folding. Between the folds cover the bowl and led it sit untouched.
5. When the bulk rise is done remove the dough from the bowl onto a well floured working surface, stretch into a rectangle and let it rest for 15 minutes. Then shape it into a boule and place it back into a floured bowl, cover and let it rest in the refrigerator for at least twelve hours, preferably overnight.
6. An hour before you want to start baking remove the bowl from the refrigerator. Preheat your oven to 250°C/500°F with a dutch oven or alternatively a roaster inside (with the lid on). After 45 minutes of preheating remove the dough from the bowl onto some parchment paper and slash the dough with a pattern of your choice. Then put it into the preheated oven/roaster, put the lid back on and bake for 25 minutes. Remove the lid and continue baking for 40-45 minutes, until the loaf sounds hollow when the bottom is tapped. Remove and let it cool for 1-2 hours before slicing. Enjoy!

Notes: The bread freezes well sliced and whole when sealed in a plastic bag.

Sunday, 8 December 2013

Homemade 1 Hour Bread


20.2 Megapixels, vari angle LCD Display with touchscreen, up to 7 pictures per second, Full HD 1080p Video or a built-in Wireless Connectivity....

Those are the things that currently keep me around cloud 7.895.385.398.....934 - UNIMAGINEABLE!

After approximately two years of regular working and keeping all most pennies I've finally got it:
my new camera!! I first noticed the Canon EOS 70D a few months ago and immediately fell in love, 'cause it had everything I've wanted, for a price in my budget (or at least one I was willing to work for even harder ;-)).


I will never need any (psychedelic) drugs: the first pictures absolutely killed it! No comparison to my (still) beloved Canon EOS 1000D which will hold a place in my heart but for now also on the shelve... Sorry, I'm getting melancholic :-P.


If you've ever bought something similar (saving anything and everything for a long time for this ultimate goal) then you quite possibly can relate to my current state: dancing around, bawling out christmas songs (sorry to my dear neighbours, but the first snow this week just increased my need for all things christmas-y) and randomly hugging everyone in sight (you know: family and friends, 'cause I'm not thaaat weird - or at least I think so...).
So we can sum up: I'm in love!


Add a wakeful hour at 4 am in the morning to the impatiently wait to try out my new darling (like really, why do batteries always have to charge over night when they're new?) and we'll end up with something fresh-made in the morning, to soon be the first "victim" for my horrible skills with getting to know new cameras ;-P.

And what's easier then an 1 hour homemade bread, using half whole wheat and half all purpose flour to be devoured for breakfast? Yep, not much :D I sadly just managed to take some photos of it in the early afternoon, so the light was already fading and the pics got quite dark :-/.


But I don't want to bother you any longer with how weird I can act out in person, just one last ultimate tip on how to enjoy fresh bread - which in my opinion is the only way you should ever choose (!!) - Sorry to be so direct guys, but I'm trying hard to inherit this to all my friends, who mostly just see bread as bread instead of a piece of art made of flour and water with optional add-ins - you see I have a really personal relationship to things - and yaa I'm one of these crazy people who speeks with objects, don't judge me!


Back to how to eat bread (okay, that sounds weird, like who doesn't now how to eat...): take (fresh) bread, the best olive oil you can get your hands on and some good quality grainy sea salt. Slice the preferably still warm bread and either drip the oil on top of a slice and sprinkle with the salt, or first dip the bread into the oil and then the salt = HEAVEN (sorry butter, but for me you just have to move over, nothing tops fresh steaming homemade bread with aromatic oil and luxury salt). When you have the chance to get some fancy variations of oil and salt (the black sprinkles on top of the slice in the pictures isn't pepper, it's actually black hawaiian salt :-O totally addicting!) this makes a nice unique appetizer when guests are around - really quick preperation and you have enough time to share with them instead of nervously whirling around in your kitchen.

Homemade 1 hour Bread
- makes one medium sized loaf (serves 5-6 people for breakfast)
- 300g/ 2 and 1/2 cups Whole Wheat Flour (can be substituted with All Purpose, it just makes the bread a little heartier)
- 325g/2 and 3/4 cups All Purpose Flour
- 2 tsp Baking Soda
- 1 and 1/2 tsp Salt
- 500 ml/ Buttermilk

1. Preheat your oven to 200°C/400°F. Mix all dry ingredients, then add in the buttermilk, stirring with a wooden spoon until a thick and wet dough resembles.
2. Line a baking pan (I used a ~30x12cm pan) with parchment paper, then spoon in the dough.
3. Bake in your oven for 1 hour, until bread sounds hollow when tapped. Take it out, let cool for 10 minutes on the countertop, then remove from the pan and let cool for at least a further 5 minutes. Serve fresh bread with olive oil and sea salt. Enjoy!

Saturday, 16 November 2013

Wake me up Breakfast Buns

If someone asks me about my favourite food it takes me a mere second to answer: breakfast! I just can't be specific, as all things breakfast-y are in the permanent top spots of my food favourites: from some crisp french toast to eggs and spinach or some baked beans and sausages - looove them all! One staple in our home are buns. When during the week it's all about my loved oatmeal with fruit and yogurt on saturdays and sundays cold butter melts on a fluffy but crusty bun right on my plate, just waiting to be topped with some cheese or homemade jam: weekend perfection! 
 
 
It's like a sport here to find the bakery with the most perfect buns: crusty outside but pillowy soft on the inside, not to sweet but not to salty either. In the end there's just one thing better then some fresh baked buns from out favourite bakery - that is, you might have guessed: a homemade bun, just taken out of my beloved oven still hot to the touch and steaming as it cools of.
 
At some time in the past years my body decided for me to be a morning kind of person. I could easily sleep until lunch during elementary school, but now: not so much. 7 am in the morning and I'm awake, no further possibility of drowsing or turning around for 5 more minutes, my eyes won't close and my feet just wait to start moving. As if to say "the early bird gets the worm" my body wants to start being productive. Not that this isn't a bad thing, we had some discussions and try outs about it in the past, and now accepted this fact: during the weekend he lets me wake up early and during the week he's more of a lazy one... Bad Compromise I guess, but hey: with waking up early I can spent some time in the kitchen, preparing fresh homemade breakfast goods for the family, to wake up to all those comforting smells coming from the kitchen!
 
 
For today's breakfast buns you certainly don't have to be an early bird: these take 30 minutes from start to finish, which means you can whip them up in your pyjamas and while laying the table the dough will be turned into a crisp crust with soft interior! The ingredients are so basic and the process is so easy, that you might as well still be sleeping with an eye ;-).
What makes them even better: the basic recipe makes 4 buns, perfect for a whole weekend for one person or for one breakfast for two! As tomorrow's sunday you can wake up your loved one(s) with a lovely homemade breakfast or just treat yourself alone and freeze the leftovers - and all without waking up too early for hours of kneading!
 

Breakfast Buns
- makes 4 buns, each about 4 inch in diameter
- 1 cup Whole Wheat Flour (can be substituted with all purpose)
- 1/2 cup Milk (you might need more, according to the texture of your flour)
- 1/2 tsp Salt
- 2 and 1/2 tsp Baking Powder
- optional: about 2 Tbsp of nuts, seeds, dried fruits, etc.

1. Preheat the oven to 200°C, line a baking sheet with parchment paper.
2. Mix together the dry ingredients and the optionals if you prefer a certain taste direction. Then gradually add in the milk and stir with a fork until well incorporated and a sticky, thick dough is formed. If dough is too dry just add in a little more milk by the tablespoon.
4. With a tablespoon put dollops of dough (about 4 inches in diameter) onto the parchment paper and bake in the oven for 25 minutes. The buns are done when they can easily be taken of the parchment paper and sound hollow when tapped. Take them out and let cool for 10-15 minutes before serving. Enjoy!